
Ever stood in front of your bathroom mirror, desperately dabbing yet another expensive cream on that stubborn pimple that appeared overnight? Yeah, we’ve all been there.
The frustrating cycle of acne products that promise the world but deliver disappointment is enough to make anyone skeptical. But what if the solution was already sitting in your kitchen pantry?
Homemade face masks for pimples aren’t just budget-friendly alternatives—they’re powerhouses of natural ingredients that work with your skin instead of against it. No mystery chemicals, no confusing labels, just straightforward remedies your grandmother would approve of.
I’ve tested dozens of DIY acne remedies, and I’m about to share the ones that actually delivered results. But first, let me tell you about the surprising ingredient that transformed my skin when nothing else would…

Acne develops when sebaceous glands produce excess oil (sebum) in response to hormonal fluctuations. This typically happens during puberty, menstrual cycles, pregnancy, or times of stress. When this excess sebum combines with dead skin cells, it can clog hair follicles. The clogged pores create an ideal environment for Propionibacterium acnes bacteria to multiply, triggering inflammation and resulting in pimples, blackheads, whiteheads, and cysts.
Testosterone is particularly influential in stimulating sebum production, which explains why acne is common during adolescence when hormone levels surge. Environmental factors like humidity, certain medications, and diet may also exacerbate acne for some individuals.
Natural acne remedies offer several advantages over commercial products. Most importantly, they typically contain fewer harsh chemicals and artificial ingredients that can irritate sensitive skin. Commercial products often contain benzoyl peroxide, salicylic acid, and sulfates which, while effective, may cause dryness, redness, and peeling.
Homemade solutions allow you to:
Control exactly what touches your skin
Avoid potential allergens and irritants
Reduce exposure to preservatives and fragrances
Save money on expensive skincare products
Create personalized treatments for your specific needs
Additionally, many natural ingredients provide multiple benefits simultaneously, addressing inflammation, bacteria, and excess oil while nourishing the skin.
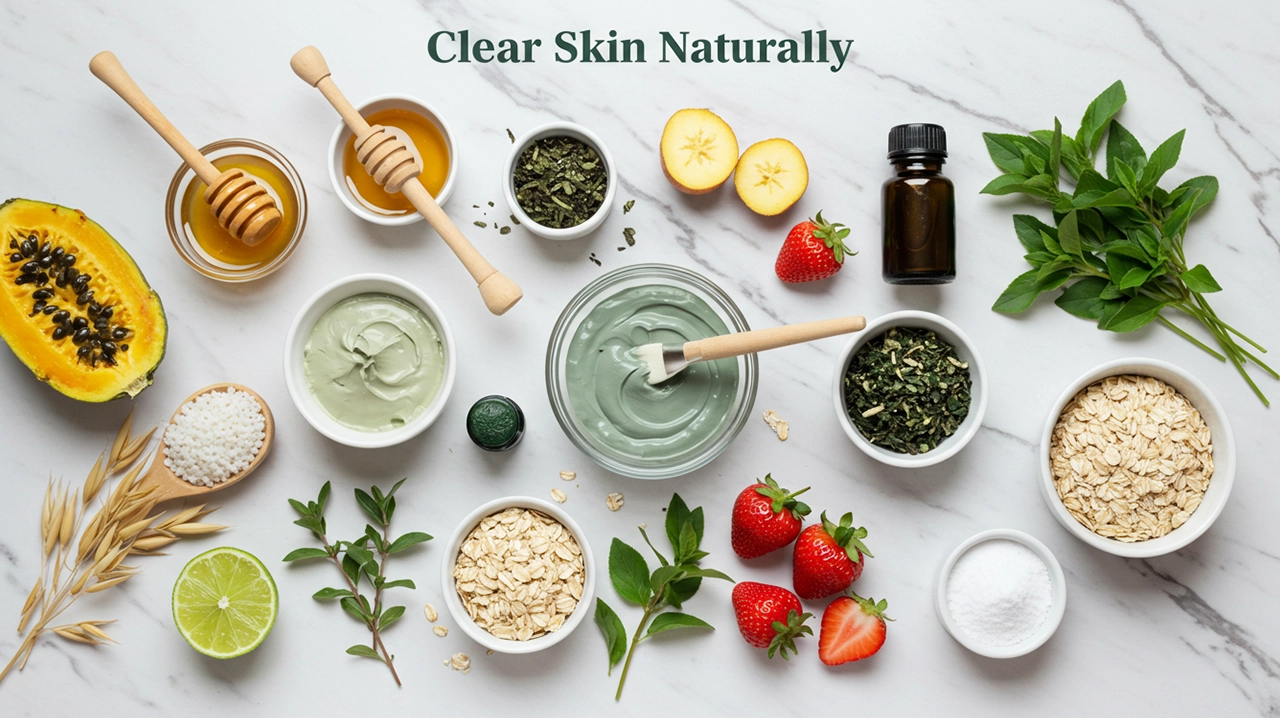
Your kitchen likely contains several powerful acne-fighting ingredients:
Honey: Natural antibacterial properties and soothing effects
Lemon: Contains alpha-hydroxy acids that exfoliate and lighten acne scars
Oatmeal: Absorbs excess oil and calms irritated skin
Yogurt: Contains lactic acid that gently exfoliates
Apple cider vinegar: Balances skin pH and has antimicrobial properties
Green tea: Rich in antioxidants that reduce inflammation
Aloe vera: Soothes redness and promotes healing
Baking soda: Exfoliates and neutralizes skin acidity
Effective acne treatment begins with understanding your skin type:
Oily skin produces excess sebum, appears shiny, and is prone to blackheads and pimples. Clay-based masks and astringent ingredients like witch hazel work well.
Dry skin lacks moisture, may feel tight, and can still develop acne due to dead skin cell buildup. Gentle exfoliation and hydrating ingredients like honey are ideal.
Combination skin features both oily and dry areas, typically with an oily T-zone. Zone-specific treatments or balanced ingredients like jojoba oil can help.
Sensitive skin reacts easily with redness or irritation. Calming ingredients like oatmeal, chamomile, and aloe vera are best.
Understanding your specific skin type and acne triggers allows you to create targeted treatments that address your unique concerns without causing further irritation.

Honey stands out as nature’s antibacterial powerhouse for treating acne. Its natural properties make it effective against bacteria while providing gentle moisture to the skin.
Raw, organic honey works wonders as a standalone treatment for acne-prone skin. Simply apply a thin layer of raw honey to clean skin and leave it on for 15-20 minutes. The natural enzymes in honey help destroy bacteria while its humectant properties maintain skin hydration. This mask is particularly effective for those with sensitive skin who need gentle yet effective cleansing.
When inflammation is your primary concern, combining honey with cinnamon creates a potent anti-inflammatory solution:
2 tablespoons raw honey
1 teaspoon cinnamon powder
Mix these ingredients to form a paste and apply to affected areas for 10-15 minutes. Cinnamon enhances blood circulation while honey fights bacteria, reducing both redness and swelling of active pimples. This combination works particularly well for cystic acne and pustules.
For those dealing with post-acne marks and uneven skin tone:
1 tablespoon raw honey
1 teaspoon fresh lemon juice
2 tablespoons plain yogurt
This triple-action mask brightens skin while fighting acne. Lemon’s natural acids provide gentle exfoliation, yogurt’s lactic acid removes dead skin cells, and honey keeps everything balanced with its antibacterial and moisturizing properties. Apply for 15 minutes twice weekly for significant improvement in skin tone and texture.
For optimal results with honey-based masks:
Always start with thoroughly cleansed skin
Apply with clean fingertips or a facial brush
Use gentle upward motions to enhance circulation
For spot treatments, use a cotton swab for precise application
Remove with lukewarm water and gentle circular motions
A light tapping technique during application can enhance absorption and stimulate lymphatic drainage, further reducing inflammation.
Oily/Acne-Prone Skin: Can use honey masks 2-3 times weekly
Combination Skin: Apply 1-2 times weekly, focusing on T-zone
Sensitive Skin: Start with once weekly applications, watching for reactions
Dry Skin: Use honey-yogurt combinations 1-2 times weekly for hydration
Patch test any new honey-based mask, especially when adding active ingredients like lemon or cinnamon. While honey is generally gentle, individual sensitivities can vary.

Clay masks have been used for centuries as a natural remedy for skin concerns, particularly for those struggling with acne. These powerful earth elements work by drawing impurities from deep within the skin, absorbing excess oils, and reducing inflammation—making them ideal allies in the fight against pimples.
Bentonite clay stands out as one of the most effective clay varieties for acne-prone skin due to its exceptional absorbent properties. When mixed with water or apple cider vinegar, it creates a negatively charged mask that attracts positively charged toxins and excess sebum.
To create a simple bentonite clay mask:
Mix 1 tablespoon of bentonite clay with 1-2 tablespoons of apple cider vinegar
Stir until it forms a smooth paste without metal utensils (which can reduce clay’s effectiveness)
Apply to clean skin and leave on for 10-15 minutes
Remove before the mask completely dries to prevent excessive drying
This mask is particularly beneficial for those with oily skin or during hormonal breakouts when oil production increases. Use weekly for best results, but reduce frequency if you notice any dryness.
For those with more sensitive or combination skin types, French green clay offers a gentler alternative while still providing excellent detoxifying benefits. Its natural minerals help stimulate circulation while removing impurities.
Create a soothing French green clay mask by:
Combining 1 tablespoon of French green clay with 1 tablespoon of rosewater
Adding a few drops of aloe vera gel for extra soothing properties
Applying a thin, even layer to cleansed skin
Removing after 10 minutes with warm water
This gentler formulation provides deep cleansing without the potential irritation that stronger clays might cause on sensitive skin. The subtle exfoliating action helps remove dead skin cells that can clog pores and lead to breakouts.
Enhance your clay masks’ acne-fighting abilities by incorporating select essential oils known for their antimicrobial and anti-inflammatory properties:
| Essential Oil | Benefits for Acne | Recommended Skin Type |
|---|---|---|
| Tea Tree | Antibacterial, reduces inflammation | Oily, acne-prone |
| Lavender | Calming, reduces redness | All skin types, including sensitive |
| Rosemary | Balances oil production | Combination to oily |
| Frankincense | Promotes cell regeneration | Mature, acne-scarred skin |
When adding essential oils to clay masks, remember that a little goes a long way—typically 1-2 drops per tablespoon of clay is sufficient. Always patch test any new essential oil and avoid using them if you’re pregnant or have certain medical conditions without consulting a healthcare provider.
Regular use of these customized clay masks can dramatically improve skin texture, reduce breakouts, and minimize the appearance of enlarged pores that often accompany acne-prone skin.

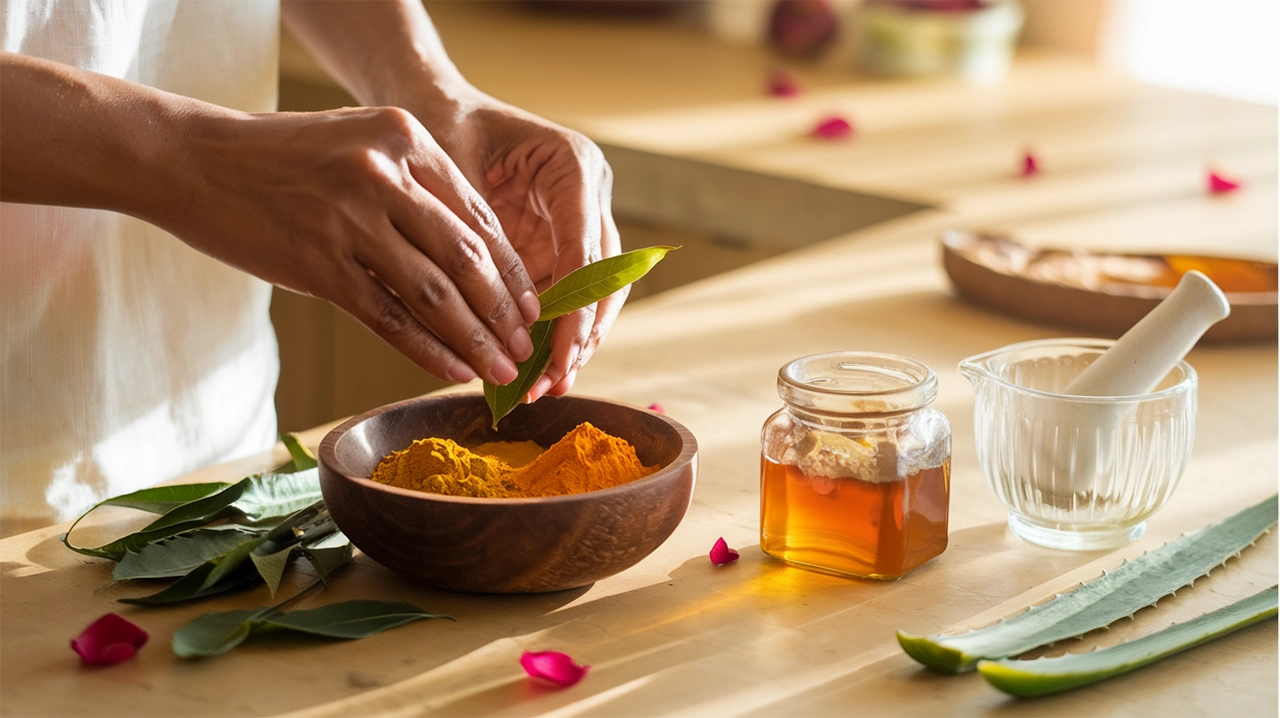
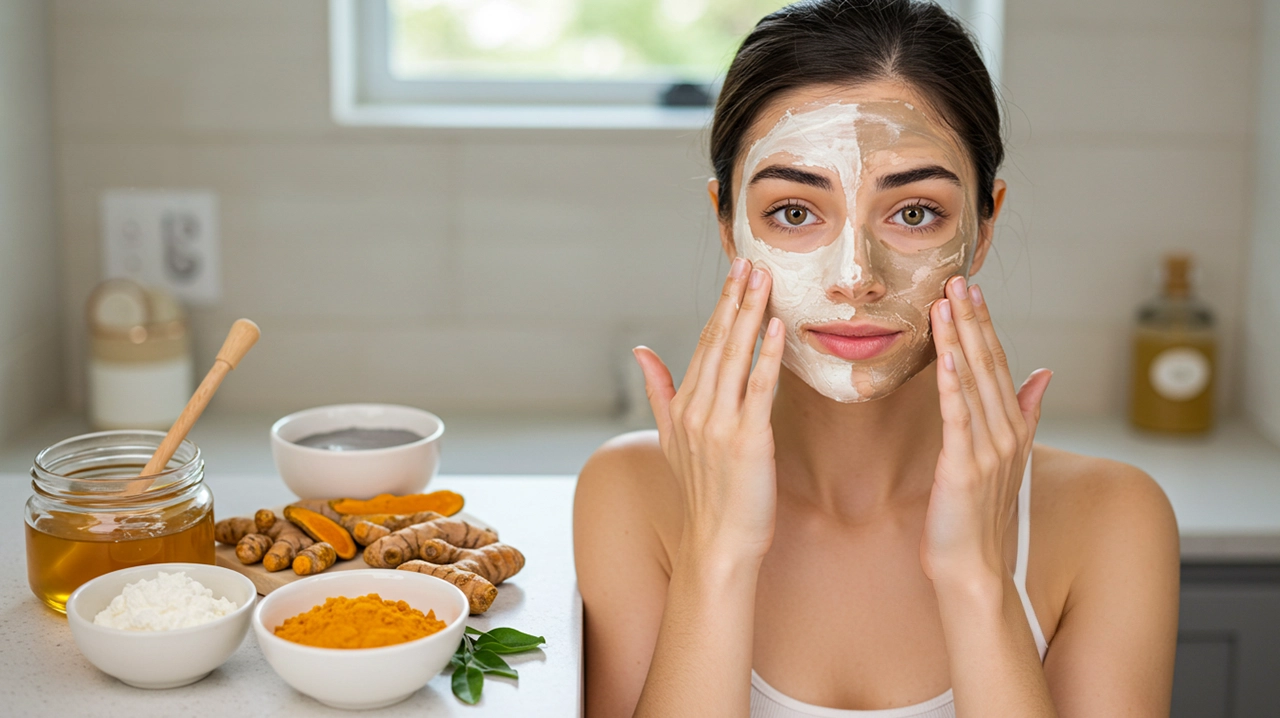
Turmeric has been used for centuries in traditional medicine for its powerful anti-inflammatory properties. The active compound curcumin in turmeric helps reduce redness, swelling, and pain associated with inflammatory acne.
This time-tested combination harnesses both the anti-inflammatory power of turmeric and the soothing, probiotic benefits of yogurt:
1 teaspoon turmeric powder
2 tablespoons plain, unflavored yogurt
1/2 teaspoon honey (optional for added antibacterial benefits)
Mix ingredients into a smooth paste and apply to clean skin, focusing on acne-prone areas. Leave on for 15-20 minutes before rinsing with lukewarm water. The lactic acid in yogurt gently exfoliates while turmeric reduces inflammation.
When skin is particularly irritated or sensitive, this gentle combination provides maximum calming benefits:
1 teaspoon turmeric powder
2 tablespoons fresh aloe vera gel
3-4 drops of tea tree oil (optional)
Combine ingredients thoroughly and apply in a thin layer. The cooling properties of aloe vera complement turmeric’s anti-inflammatory action, making this mask ideal for angry, inflamed breakouts. Leave on for 15 minutes before rinsing.
Turmeric’s vibrant yellow color can temporarily stain skin, especially if you have fair complexion:
Apply a thin layer rather than a thick paste
Add a few drops of oil (such as jojoba or almond) to your mixture to help prevent staining
Rinse thoroughly with a gentle cleanser immediately after use
Use a cotton pad with milk to remove any lingering yellow tint
Apply turmeric masks before bedtime to allow any minor staining to fade overnight
For optimal results with turmeric treatments:
For severe acne: Apply a turmeric mask 2-3 times weekly
For maintenance: Once weekly applications help prevent new breakouts
For post-inflammatory hyperpigmentation: Use consistently twice weekly for 4-6 weeks
Track your skin’s response and adjust frequency accordingly. Some redness immediately after application is normal due to increased circulation, but should fade within an hour. Discontinue if you experience persistent irritation or allergic reactions.
Remember that turmeric masks complement other acne treatments but require consistency to see lasting results. Patience is key—allow 3-4 weeks of regular use to observe significant improvement in inflammation and overall skin clarity.

Regular exfoliation is essential for acne-prone skin as it helps remove dead skin cells that can clog pores and lead to breakouts. Natural exfoliating masks accelerate cell turnover, revealing fresher skin while helping to fade acne scars and hyperpigmentation.
Oatmeal provides the perfect balance of gentle exfoliation without irritating sensitive or inflamed skin. This makes it ideal for active acne.
DIY Oatmeal Exfoliating Mask:
3 tablespoons ground oatmeal (pulse whole oats in a blender)
1 tablespoon honey
1 teaspoon plain yogurt
Mix all ingredients to form a paste. Apply to damp skin using gentle circular motions for 1-2 minutes, then leave on for an additional 10 minutes. The oatmeal particles physically remove dead skin cells while its anti-inflammatory properties calm redness.
This combination offers dual-action benefits: exfoliation from brown sugar’s fine granules and deep hydration from coconut oil’s moisturizing properties.
DIY Brown Sugar Coconut Scrub:
2 tablespoons brown sugar
1 tablespoon virgin coconut oil
5 drops tea tree oil (optional for antibacterial benefits)
Gently warm the coconut oil until just melted, then mix in the brown sugar and tea tree oil. Apply to clean skin in circular motions for 2-3 minutes before rinsing. The natural glycolic acid in brown sugar helps dissolve the bonds between dead skin cells, while coconut oil prevents the over-drying that can trigger excess oil production.
For those with inflamed acne, mechanical exfoliation might be too harsh. Fruit enzymes offer a chemical exfoliation alternative that dissolves dead skin cells without abrasion.
DIY Papaya Enzyme Mask:
2 tablespoons fresh papaya pulp
1 teaspoon honey
½ teaspoon lemon juice
Mash the papaya thoroughly and combine with other ingredients. Apply to clean skin and leave for 15 minutes. Papain, the enzyme in papaya, gently breaks down dead skin cells and unclogs pores.
DIY Pineapple Enzyme Treatment:
2 tablespoons fresh pineapple juice
1 teaspoon aloe vera gel
Pinch of turmeric powder
Mix ingredients and apply with a cotton pad. Leave on for no more than 10 minutes as the bromelain enzyme in pineapple is potent. This powerful enzyme exfoliant helps to smooth texture and fade post-acne marks.
For best results, use exfoliating masks 1-2 times per week. Always follow with moisture and sunscreen, as newly revealed skin is more susceptible to UV damage.

Not all acne is created equal, which means different types respond best to specific ingredients. Understanding your acne type is the first step toward creating the most effective homemade treatment.
Cystic acne—those deep, painful bumps that develop beneath the skin—requires potent yet gentle solutions. Tea tree oil stands out as nature’s powerhouse against this severe form of acne:
Basic Tea Tree Mask: Mix 3 drops of tea tree oil with 2 tablespoons of raw honey and 1 teaspoon of jojoba oil. Apply to affected areas for 15-20 minutes before rinsing.
Tea Tree Clay Combo: Combine 1 tablespoon bentonite clay, 1 tablespoon apple cider vinegar, and 2 drops of tea tree oil. This powerful blend helps reduce inflammation while fighting bacteria deep within the skin.
Remember that tea tree oil is potent—always dilute it properly and do a patch test first to avoid irritation.
For those pesky whiteheads and stubborn blackheads that clog pores, activated charcoal works like a magnet:
Charcoal Peel-Off Mask: Mix 1 teaspoon of activated charcoal powder with 1 tablespoon of unflavored gelatin and 1 tablespoon of warm water. Apply a thin layer, let dry completely, then gently peel off.
Charcoal and Rice Flour Scrub: Combine 1 tablespoon of activated charcoal, 2 tablespoons of rice flour, and enough yogurt to create a paste. The gentle exfoliation helps remove dead skin cells that lead to blocked pores.
Apply these masks once weekly, focusing on your T-zone or areas most prone to blackheads and whiteheads.
Hormonal acne typically appears along the jawline and chin, especially during certain times of the month. Natural hormone-balancing ingredients can help:
Spearmint Calming Mask: Brew strong spearmint tea, cool it, then mix 2 tablespoons with 1 tablespoon of honey and 1 teaspoon of kaolin clay. Studies suggest spearmint may help reduce androgen levels that contribute to hormonal breakouts.
Green Tea Antioxidant Treatment: Open a green tea bag and mix the leaves with 1 tablespoon of aloe vera gel and a few drops of evening primrose oil. The catechins in green tea help reduce sebum production and inflammation.
For best results with hormonal acne, consistency is key—implement these masks into your regular skincare routine and consider drinking these beneficial teas as well for internal support.

Cleanse thoroughly: Start with clean skin to remove dirt, oil, and makeup. Use a gentle cleanser that won’t strip your skin’s natural barrier.
Steam your face: Open your pores by steaming your face for 5 minutes or applying a warm towel. This helps the mask penetrate deeper.
Exfoliate gently: For most masks (except exfoliating ones), light exfoliation beforehand helps remove dead skin cells and improves mask absorption.
Patch test: Always test new mask ingredients on your inner wrist before applying to your face, especially if you have sensitive skin.
Clay masks: Apply with a flat synthetic brush in even layers, avoiding the delicate eye area. Apply thicker layers on oilier zones like the T-zone.
Honey-based masks: Use clean fingertips and apply in gentle upward strokes. These stickier formulations benefit from a warming motion to help them distribute evenly.
Turmeric pastes: Apply with a brush or the back of a spoon to avoid staining your fingertips. Use gentle, even pressure to create an even layer.
Exfoliating masks: Apply with fingertips using circular motions, but avoid pressing hard or scrubbing.
Rinse properly: Remove masks with lukewarm water and a soft cloth. Clay masks should never be allowed to completely dry and crack.
Tone: Balance your skin’s pH with an alcohol-free toner after mask removal.
Moisturize immediately: Lock in hydration within 60 seconds of mask removal while your skin is still slightly damp.
Sun protection: Always apply SPF after daytime mask use, as some ingredients (like AHAs or fruit acids) can increase sun sensitivity.
Persistent redness: Some flushing is normal but should subside within 30 minutes. Lingering redness indicates irritation.
Burning sensation: A slight tingle is acceptable for active ingredients, but actual burning means the mask is too harsh.
Breakouts in new areas: If you’re developing pimples in places you don’t normally break out, the mask may be clogging your pores.
Excessive dryness or tightness: Your skin should feel nourished after a mask, not dehydrated or uncomfortable.
Increased oil production: If your skin becomes unusually oily after masking, your skin may be overcompensating for harsh ingredients.
Wait at least 48 hours between masks to allow your skin to recover and prevent over-treatment, which can damage your skin barrier and worsen acne.

Combating acne doesn’t require expensive products when nature offers powerful ingredients right at your fingertips. From honey’s antibacterial properties to clay’s deep-cleansing abilities, turmeric’s anti-inflammatory benefits, and gentle exfoliants for cell renewal, these DIY solutions target different types of acne effectively. Remember that consistency in your skincare routine, along with proper application techniques and aftercare, is key to seeing results.
Start your natural acne-fighting journey today by selecting ingredients that address your specific skin concerns. While homemade masks can work wonders, give your skin time to respond to treatments, and consider consulting a dermatologist for persistent or severe acne. With patience and these natural remedies, you’re on your way to clearer, healthier skin using the healing power of ingredients from your kitchen.