Ever stared at another angry red bump in the mirror and thought, “I’ve tried everything,” only to reach for yet another expensive acne product that promises the world? Yeah, I’ve been there too.
The cycle feels endless – buy, hope, get disappointed, repeat. But what if the solution wasn’t in those fancy bottles with scientific-sounding ingredients, but in your kitchen?
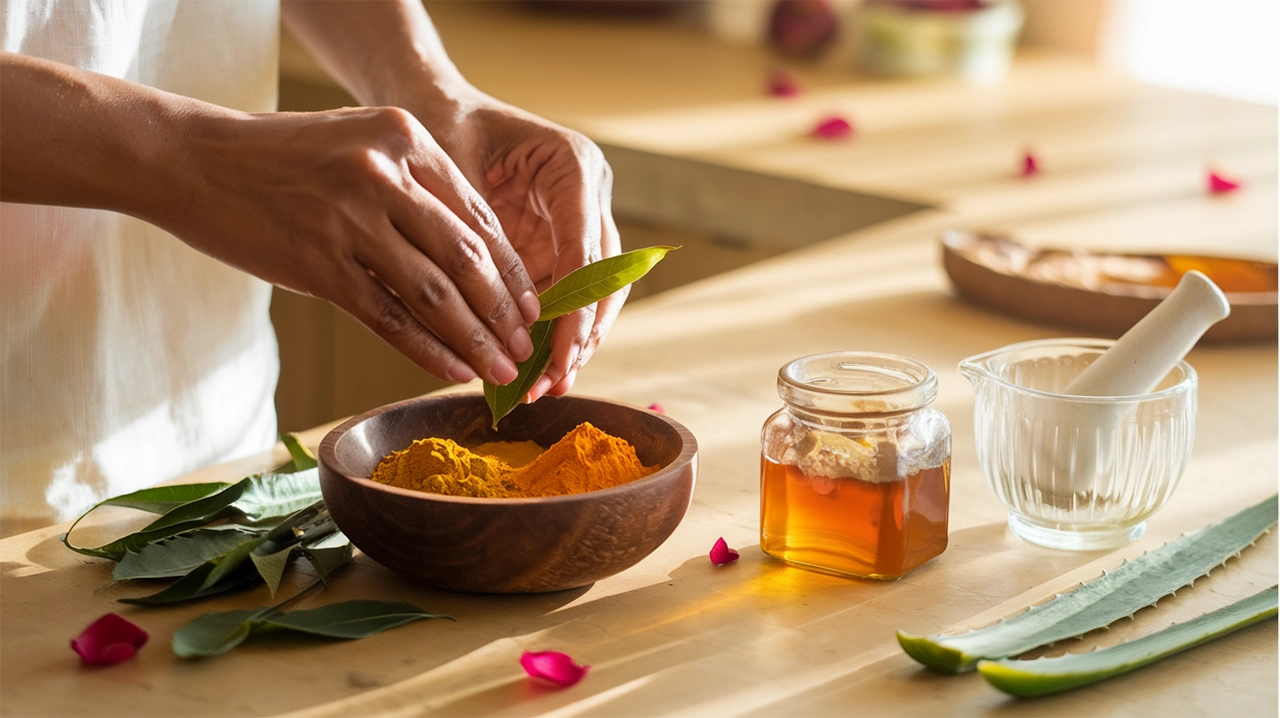
These DIY face masks for acne aren’t just cheap alternatives – they’re powerhouses backed by centuries of use and, surprisingly, quite a bit of science. Natural ingredients like honey, turmeric, and tea tree oil target inflammation, bacteria, and excess oil without the harsh side effects.
But here’s what nobody tells you about natural acne treatments that might change everything about your skincare routine…
Acne is more than just an occasional blemish—it’s a complex skin condition with multiple contributing factors. Before diving into natural remedies, it’s crucial to understand what causes acne in the first place.
Acne manifests in various forms, each with distinct characteristics:
Whiteheads: Closed comedones that appear as small, flesh-colored bumps
Blackheads: Open comedones where oxidized sebum creates a dark appearance
Papules: Small, red, tender bumps without pus
Pustules: Red bumps containing pus at their tips
Nodules: Large, painful, solid lumps beneath the skin
Cysts: Deep, painful, pus-filled lumps that can cause scarring
Identifying your specific acne type helps determine the most effective treatment approach for your DIY face masks.
Hormonal fluctuations significantly impact skin health:
Androgens: Increase sebum production, particularly during puberty
Menstrual cycles: Cause cyclical breakouts in many women
Pregnancy and menopause: Create hormonal shifts that affect skin
Polycystic ovary syndrome (PCOS): Causes persistent hormonal acne
These imbalances stimulate sebaceous glands, creating excess oil that combines with dead skin cells to clog pores and create ideal environments for acne-causing bacteria.
What you eat and how you live can directly affect your skin:
High-glycemic foods: Spike insulin, increasing sebum production
Dairy products: Contain hormones that may trigger acne in susceptible individuals
Stress: Elevates cortisol levels, worsening inflammation
Sleep deprivation: Impairs skin’s overnight repair processes
Environmental pollutants: Clog pores and generate free radicals
Making targeted dietary and lifestyle changes can significantly reduce acne frequency and severity.
Natural ingredients offer multiple benefits for acne-prone skin:
Anti-inflammatory properties: Reduce redness and swelling
Antimicrobial effects: Combat acne-causing bacteria
Gentle exfoliation: Remove dead skin cells without harsh chemicals
Sebum regulation: Balance oil production naturally
Fewer side effects: Less drying and irritation than many commercial products
Natural remedies address the root causes of acne rather than just treating symptoms, making DIY face masks a powerful addition to your skincare routine.

Creating effective DIY acne face masks starts with understanding which ingredients actually work. The right components can transform your homemade treatments from simple mixtures to powerful skin-clearing remedies.
Inflammation is a key component of acne, often causing that characteristic redness and swelling. These natural anti-inflammatory agents can help calm irritated skin:
Honey: Raw honey contains natural anti-inflammatory properties and is gentle enough for sensitive skin
Aloe vera gel: Provides immediate soothing relief while reducing inflammation
Oatmeal: Colloidal oatmeal calms irritated skin and reduces redness
Green tea: Rich in antioxidants that fight inflammation when applied topically
Chamomile: Contains compounds that soothe skin and reduce redness
Acne develops when P. acnes bacteria proliferate in clogged pores. These natural antibacterial ingredients help combat this root cause:
Tea tree oil: A powerful natural antiseptic (always dilute before application)
Manuka honey: Contains unique antibacterial properties beyond regular honey
Apple cider vinegar: Creates an acidic environment inhospitable to bacteria
Turmeric: Contains curcumin, which has potent antibacterial properties
Cinnamon: Natural antibacterial agent (use cautiously as it can be irritating)
Clearing away dead skin cells helps prevent pore blockages that lead to breakouts:
Yogurt: Contains lactic acid, a gentle alpha-hydroxy acid
Sugar: Works as a physical exfoliant to slough away dead skin
Papaya: Contains papain enzymes that dissolve dead skin cells
Lemon juice: Contains citric acid (use sparingly and never before sun exposure)
Baking soda: Provides mild exfoliation (use cautiously as it can disrupt skin pH)
Even acne-prone skin needs proper hydration to maintain a healthy barrier:
Avocado: Rich in healthy fats and vitamins that nourish without clogging pores
Jojoba oil: Closely resembles human sebum, helping to balance oil production
Almond oil: Lightweight and non-comedogenic for most skin types
Cucumber: Provides hydration with a high water content that won’t clog pores
Glycerin: A humectant that draws moisture into the skin
Not all natural ingredients are beneficial for acne. Avoid these potential irritants:
Coconut oil: Highly comedogenic for many people despite its popularity
Undiluted essential oils: Can cause severe irritation and chemical burns
Alcohol-based ingredients: Overly drying, leading to increased oil production
Fragrant oils: Often trigger irritation and allergic reactions
Harsh scrubs: Can damage skin barrier and worsen inflammation

Honey stands as nature’s miracle worker for acne-prone skin. Its natural antibacterial properties fight acne-causing bacteria while its humectant qualities keep skin hydrated. Raw, unprocessed honey works best as it contains all the beneficial enzymes and properties intact.
This powerful combination targets bacteria that cause breakouts while reducing redness:
Ingredients:
2 tablespoons raw honey
1 teaspoon cinnamon powder
Method:
Mix ingredients to form a smooth paste
Apply to clean skin, focusing on acne-prone areas
Leave on for 10-15 minutes (not longer, as cinnamon can be stimulating)
Rinse with lukewarm water
Cinnamon contains cinnamaldehyde, which has potent antimicrobial properties that complement honey’s natural bacteria-fighting abilities. This mask works best when used 1-2 times weekly.
When acne comes with redness and inflammation, this mask provides relief:
Ingredients:
1 tablespoon raw honey
¼ teaspoon turmeric powder
Optional: ½ teaspoon plain yogurt (to reduce staining)
Method:
Combine ingredients thoroughly
Apply a thin layer to face, avoiding eyebrows (turmeric can stain)
Leave on for 15-20 minutes
Rinse thoroughly with warm water
Turmeric contains curcumin, which has powerful anti-inflammatory properties that help calm angry breakouts. The combination with honey provides both healing and soothing benefits for irritated skin.
This triple-action mask not only fights acne but also fades post-acne marks and brightens skin tone:
Ingredients:
1 tablespoon raw honey
1 teaspoon fresh lemon juice
1 tablespoon plain Greek yogurt
Method:
Mix all ingredients until smooth
Apply to clean face, avoiding the eye area
Allow to sit for 15-20 minutes
Rinse with cool water
Lemon’s natural AHAs gently exfoliate while yogurt’s lactic acid removes dead skin cells. Combined with honey’s healing properties, this mask brightens dull skin and helps fade hyperpigmentation from past breakouts. Use this mask once weekly, and always apply sunscreen afterward, as lemon juice can increase sun sensitivity.

Clay masks are powerhouse treatments for acne-prone skin, drawing out impurities and excess oil from deep within pores. These natural detoxifiers work by absorbing sebum and environmental toxins while delivering beneficial minerals to the skin.
Bentonite clay carries a negative electrical charge that bonds to positively charged toxins, making it exceptional for deep cleansing.
Recipe:
1 tablespoon bentonite clay
1-2 teaspoons raw apple cider vinegar
1 drop tea tree oil (optional)
Mix ingredients in a non-metal bowl with a non-metal spoon (metal can reduce clay’s effectiveness). Apply to clean skin for 10-15 minutes until the mask begins to tighten but before it fully dries. Rinse with warm water.
Benefits: This powerful combination pulls toxins from pores, reduces inflammation, and helps kill acne-causing bacteria. The ACV balances skin pH while enhancing the clay’s drawing properties.
French green clay, rich in mineral content including silica, magnesium, and calcium, is exceptional for oily, acne-prone skin.
Recipe:
1 tablespoon French green clay
1 teaspoon raw honey
3-4 drops of lavender essential oil
Filtered water (enough to form a paste)
Apply the mixture to cleansed skin, leave for 15 minutes, then rinse thoroughly. Use once weekly.
Benefits: Absorbs excess oil, tightens pores, and delivers minerals that help heal existing blemishes while promoting cellular turnover.
Kaolin (white clay) is the gentlest clay option, making it perfect for sensitive or dry skin types that still need pore cleansing.
Recipe:
2 teaspoons kaolin clay
1 teaspoon aloe vera gel
1 teaspoon rosewater
Mix ingredients into a smooth paste. Apply to face, leave for 10-12 minutes (don’t let it completely dry), then rinse with lukewarm water.
Benefits: Gently exfoliates without irritation, mildly absorbs oil, and calms inflammation without over-drying sensitive skin.
Fuller’s earth (multani mitti) addresses both active acne and the dark spots left behind.
Recipe:
1 tablespoon Fuller’s earth
1 teaspoon plain yogurt
½ teaspoon turmeric
Few drops of lemon juice
Combine ingredients into a smooth paste. Apply to clean skin, focusing on areas with hyperpigmentation. Leave on for 15 minutes, then rinse. Use twice weekly.
Benefits: Lightens post-acne marks, removes excess oil, and provides mild exfoliation to reveal fresh, clear skin underneath.
For all clay masks, follow with moisturizer as these treatments can be drying. Start with once-weekly applications and monitor your skin’s response before increasing frequency.

Fruits contain natural acids and enzymes that gently dissolve dead skin cells, making them excellent natural exfoliants for acne-prone skin. These ingredients unclog pores without the harshness of commercial products, while delivering essential vitamins and antioxidants directly to your skin.
Papaya contains papain, a powerful enzyme that breaks down and removes dead skin cells without irritation. This makes it ideal for sensitive, acne-prone skin.
Ingredients:
¼ cup ripe papaya, mashed
1 teaspoon honey
½ teaspoon lemon juice (optional, for oily skin)
How to prepare:
Mash the papaya until smooth and creamy
Add honey and mix thoroughly
Add lemon juice if desired (only for very oily skin)
Apply to clean skin and leave for 15-20 minutes before rinsing with lukewarm water. Use 1-2 times weekly for visible improvement in skin texture and reduced acne scarring.
Strawberries are packed with salicylic acid (the same ingredient in many acne medications) and vitamin C, which brightens skin and fades acne marks. Aloe vera adds soothing properties to reduce inflammation.
Ingredients:
4-5 ripe strawberries
1 tablespoon fresh aloe vera gel
½ teaspoon honey
How to prepare:
Mash strawberries into a smooth paste
Mix in fresh aloe vera gel and honey
Stir until well combined
Apply evenly to clean face, avoiding the eye area. Leave for 15 minutes, then rinse thoroughly. The natural acids may cause slight tingling—this is normal, but remove immediately if you experience burning.
This mask combines the moisturizing properties of banana with the gentle exfoliation of oatmeal, perfect for inflamed acne that needs calming.
Ingredients:
½ ripe banana
2 tablespoons ground oatmeal
1 teaspoon honey
Few drops of lemon juice (optional)
How to prepare:
Mash banana until completely smooth
Add ground oatmeal, honey, and optional lemon juice
Mix to form a thick paste, adding more oatmeal if too runny
Apply to clean face with gentle circular motions to maximize the exfoliating benefits. Leave for 20 minutes, then rinse with cool water while massaging gently. This mask is gentle enough to use twice weekly, even on sensitive skin.
These fruit-based masks provide natural exfoliation without stripping the skin, helping to clear acne while maintaining your skin’s natural moisture balance.

Tea tree oil has earned its reputation as a potent natural remedy for stubborn acne thanks to its powerful antibacterial and anti-inflammatory properties. When used properly, this essential oil can help kill acne-causing bacteria, reduce redness, and promote healing without the harsh side effects of many commercial products.
This soothing combination pairs the bacteria-fighting power of tea tree oil with the calming, healing effects of aloe vera:
2 tablespoons fresh aloe vera gel (straight from the plant or pure store-bought)
3-4 drops of tea tree essential oil
1 teaspoon honey (optional for added antibacterial properties)
Mix the ingredients thoroughly and apply to cleansed skin, focusing on acne-prone areas. Leave on for 15-20 minutes until it feels dry, then rinse with lukewarm water. The cooling sensation provides immediate relief to inflamed skin while the active ingredients work to clear blemishes.
This powerful spot treatment combines two natural astringents to target stubborn breakouts:
2 tablespoons witch hazel (alcohol-free preferred)
5 drops tea tree essential oil
1 teaspoon raw honey
1 tablespoon distilled water
Combine ingredients in a small glass bottle and shake well before each use. Apply with a cotton pad as a toner after cleansing or dab directly onto blemishes with a cotton swab. This treatment helps reduce oil production, tighten pores, and accelerate healing of existing breakouts.
This mask helps balance oil production while fighting bacteria:
1 tablespoon jojoba oil (closely resembles skin’s natural sebum)
3 drops tea tree essential oil
1 teaspoon bentonite clay
1 teaspoon raw honey
Mix all ingredients to form a smooth paste. Apply to clean skin and leave on for 10-15 minutes. Rinse thoroughly with warm water. This mask helps regulate sebum production while the tea tree oil targets acne-causing bacteria.
Always exercise caution when working with tea tree oil:
Never apply undiluted tea tree oil directly to skin (always use a carrier oil or base)
Perform a patch test before full application to check for sensitivity
Keep concentration at 2-5% (approximately 3-5 drops per tablespoon of carrier ingredient)
Avoid eye area completely
Discontinue use if irritation occurs
Pregnant women should consult a healthcare provider before use
Store formulations in dark glass containers away from sunlight
These tea tree oil formulations offer targeted solutions for persistent acne when commercial products fail. With consistent use, most people notice improvement in stubborn breakouts within 1-2 weeks.

Inflammation is often at the core of troublesome acne, and nature offers powerful herbal remedies that can calm and heal irritated skin. These anti-inflammatory herbal masks harness the therapeutic properties of plants to soothe redness, reduce swelling, and promote clear skin.
This gentle yet effective mask combines two of nature’s most calming botanicals:
Ingredients:
2 tablespoons dried calendula petals
2 tablespoons dried chamomile flowers
1 tablespoon raw honey
1 teaspoon aloe vera gel
Preparation: Steep the dried herbs in hot water for 10 minutes, then strain. Mix 1 tablespoon of the herbal infusion with honey and aloe vera until smooth. Apply to clean skin for 15 minutes before rinsing with cool water. Both calendula and chamomile contain compounds that reduce inflammation and promote tissue repair, making this ideal for angry, inflamed acne.
Revered in Ayurvedic tradition, neem is a powerful antibacterial and anti-inflammatory agent:
Ingredients:
2 tablespoons neem powder
1 tablespoon plain yogurt
1 teaspoon turmeric
½ teaspoon honey
Preparation: Mix all ingredients to form a paste. Apply to affected areas and leave for 15-20 minutes until slightly dry but not completely hardened. Rinse with lukewarm water using gentle circular motions. Neem’s antimicrobial properties help kill acne-causing bacteria while reducing inflammation, making it particularly effective for persistent breakouts.
This cooling mask combines antioxidant-rich green tea with the soothing properties of mint:
Ingredients:
1 tablespoon green tea leaves (or contents of 2 tea bags)
1 tablespoon fresh mint leaves, finely chopped
1 tablespoon raw honey
1 egg white (optional, for oily skin)
Preparation: Steep green tea leaves in hot water for 5 minutes, then cool. Mix 2 teaspoons of the tea with chopped mint, honey, and egg white if using. Apply to face and leave for 15 minutes. Rinse thoroughly. The catechins in green tea reduce sebum production and fight inflammation, while mint provides a cooling sensation that calms irritated skin.
This mask addresses both inflammation and post-acne hyperpigmentation:
Ingredients:
1 tablespoon licorice root powder
1 teaspoon rice flour
1 tablespoon rosewater
½ teaspoon vitamin E oil (pierce a capsule)
Preparation: Combine all ingredients to form a smooth paste. Apply in a thin layer, focusing on areas with acne marks or active breakouts. Leave for 20 minutes before rinsing. Licorice root contains glabridin, which inhibits the enzyme responsible for skin darkening, while also providing anti-inflammatory benefits that reduce redness and swelling.
Use these herbal masks 1-2 times weekly for best results. Their gentle yet effective nature makes them suitable for even sensitive skin types struggling with acne.

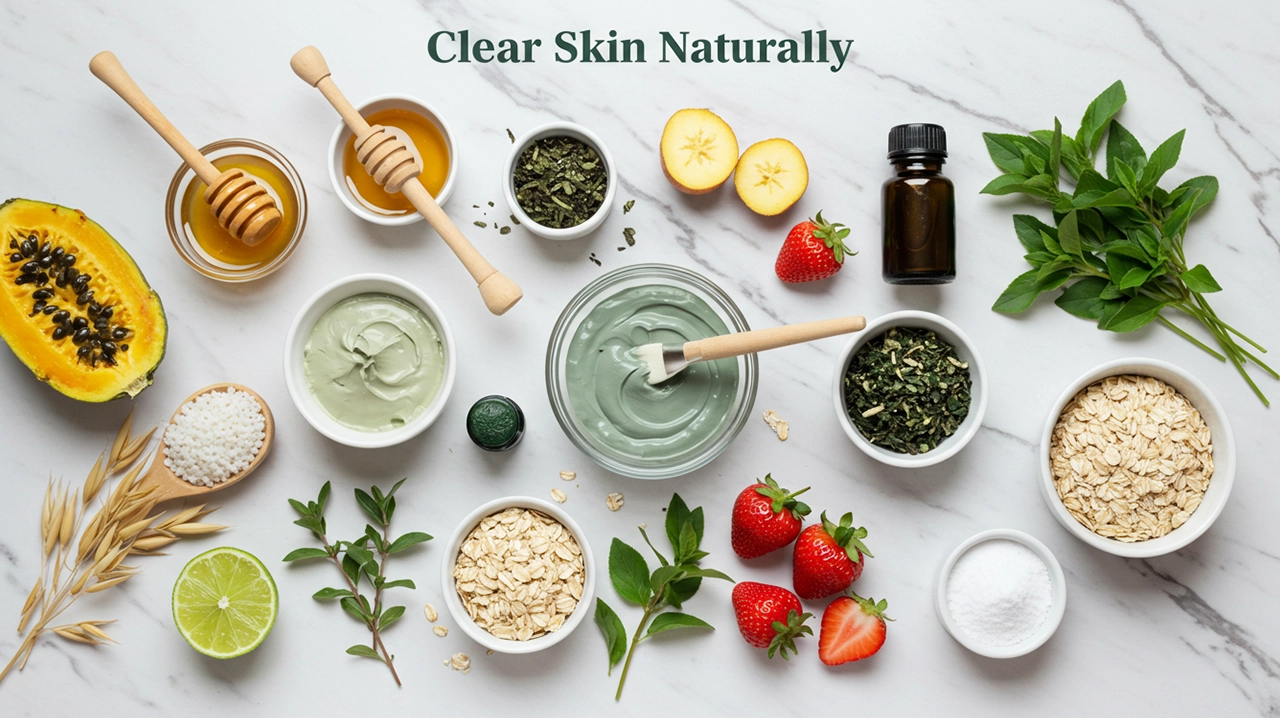
Some of the most effective acne-fighting ingredients are likely sitting in your kitchen right now. These everyday items can be transformed into powerful skincare treatments that rival expensive commercial products.
This gentle yet effective mask combines the soothing properties of colloidal oatmeal with the lactic acid benefits of yogurt.
Ingredients:
2 tablespoons plain oatmeal (ground to a fine powder)
1 tablespoon plain, unsweetened yogurt
1 teaspoon honey (optional for added antibacterial properties)
How to use:
Mix ingredients to form a paste
Apply to clean skin and leave for 15-20 minutes
Rinse with lukewarm water using gentle circular motions
The oatmeal absorbs excess oil while yogurt’s natural acids gently exfoliate, making this perfect for inflamed, irritated acne.
Caution: Baking soda has a high pH that can disrupt your skin’s natural acid mantle. Use sparingly and only as a spot treatment.
Ingredients:
1 teaspoon baking soda
Few drops of water
How to use:
Create a thick paste
Apply only to individual pimples, not all over face
Leave for no more than 10 minutes
Use no more than once weekly
Baking soda can help dry out active pimples, but overuse can lead to irritation and increased sebum production.
Egg whites contain proteins that temporarily tighten skin and absorb excess oil.
Ingredients:
1 egg white
½ teaspoon of lemon juice (optional)
How to use:
Whisk egg white until frothy
Apply a thin layer to clean face
Allow to dry completely (about 15-20 minutes)
Rinse thoroughly with warm water
This mask is particularly effective for oily skin types and can visibly reduce the appearance of enlarged pores.
ACV contains natural acids that help balance skin pH and fight bacteria.
Ingredients:
1 part raw, unfiltered apple cider vinegar
3 parts filtered water
How to use:
Mix ingredients in a clean bottle
After cleansing, apply to face using a cotton pad
Allow to air dry
Follow with moisturizer
Start with a once-weekly application, gradually increasing if skin tolerates it well
The natural acetic acid in ACV helps exfoliate skin and reduce bacteria while balancing oil production. Always dilute properly to avoid irritation, and perform a patch test first if you have sensitive skin.

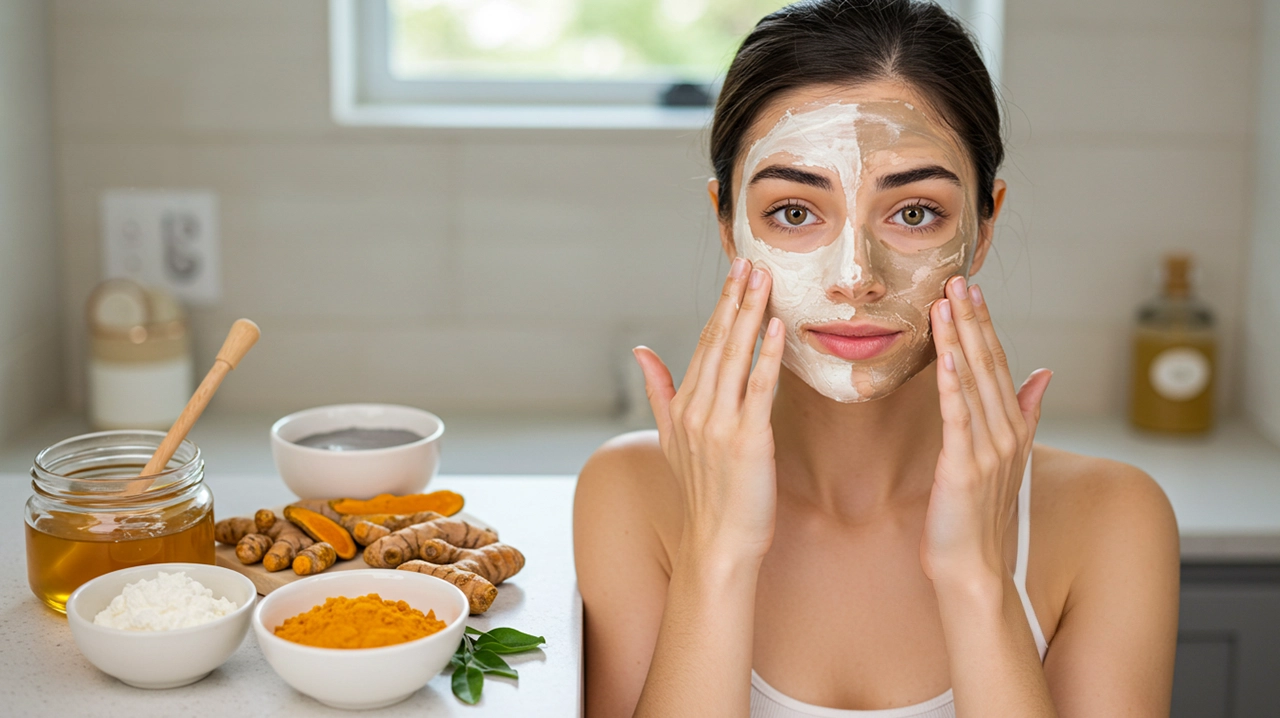
For DIY acne masks to work effectively, preparation is key. Start with thoroughly cleansing your face using a gentle, pH-balanced cleanser to remove surface oils, makeup, and debris. Follow with a warm compress or steaming your face for 2-3 minutes to open pores—this helps masks penetrate deeper. For oily skin types, consider using a mild exfoliant before application to remove dead skin cells that could prevent absorption of active ingredients. However, if your skin is inflamed or has active breakouts, skip exfoliation to avoid irritation.
Different mask consistencies require specific application techniques:
Clay masks: Apply with a clean synthetic brush in an even layer, avoiding the delicate eye area. Start from the center of the face and work outward with upward strokes.
Gel and honey-based masks: Use clean fingertips to gently press and pat the product into the skin rather than rubbing, which could cause irritation.
Fruit pulp masks: Apply with the back of a spoon in a thick, even layer, focusing on acne-prone areas.
Oil-based masks: Warm between palms first, then press gently into the skin to activate ingredients.
For spot treatments, use a cotton swab to precisely target individual blemishes without affecting surrounding skin.
Consistency is crucial for visible results:
Clay masks: 10-15 minutes until slightly dry but not completely hardened. Use 1-2 times weekly.
Honey-based masks: 15-20 minutes. Can be used 2-3 times weekly due to their gentle nature.
Fruit acid masks: 5-10 minutes only to prevent irritation. Use once weekly.
Tea tree formulations: 10 minutes maximum. Use 1-2 times weekly.
Never leave any mask on overnight, as this can cause over-drying or irritation. For sensitive skin, start with shorter durations (5 minutes) and gradually increase as tolerance builds.
The steps following mask removal are equally important:
Rinse thoroughly with lukewarm (never hot) water using gentle circular motions.
Pat—don’t rub—your face dry with a clean towel.
Apply an alcohol-free toner to restore pH balance and remove any mask residue.
Follow with a lightweight, non-comedogenic moisturizer within 60 seconds of rinsing to lock in hydration.
For daytime treatments, always apply broad-spectrum sunscreen afterward, as many mask ingredients can increase photosensitivity.
Wait at least 2 hours before applying makeup to allow your skin to breathe and benefit fully from the treatment. Hydration is essential after masks, so drink plenty of water to support skin recovery from within.
Your skin is unique, and your acne treatment approach should be too. Creating a personalized regimen with DIY face masks allows you to address your specific concerns while adapting to your skin’s changing needs.
Most acne sufferers deal with multiple skin issues simultaneously—excess oil in some areas, dryness in others, plus inflammation and scarring. Consider these combination approaches:
Multi-masking: Apply different masks to different facial areas. Use clay on your T-zone for oil control while applying honey-based masks to drier, irritated areas.
Layering strategy: Start with a gentle exfoliating mask (like fruit-based options) to remove dead skin cells, then follow with an anti-inflammatory mask to soothe the skin.
Alternating schedule: Use deep-cleansing clay masks twice weekly, interspersed with hydrating honey masks on other days to prevent over-drying.
Your skin needs change with the seasons, requiring adjustments to your DIY mask regimen:
Summer: Focus on lightweight, oil-controlling masks like green tea and clay combinations. Add cooling ingredients like cucumber or aloe vera.
Winter: Incorporate more moisturizing components like avocado or yogurt into your masks to combat dryness while still treating acne.
Spring/Fall transitions: These times often trigger breakouts, so increase mask frequency slightly and focus on balancing ingredients like honey and oatmeal.
Maintaining a skin journal helps identify what works best for your unique skin:
Record the mask ingredients used, application time, and frequency
Document your skin’s immediate reaction and condition 24-48 hours later
Note environmental factors (stress, diet changes, weather)
Take weekly photos in consistent lighting to track progress objectively
Adjust one ingredient at a time when making changes to identify effective components
If a mask causes irritation, dilute active ingredients or reduce frequency. If results plateau, consider introducing new active ingredients or increasing concentration slightly.
While DIY approaches can work wonders, recognize when professional help is needed:
Your acne persists despite consistent use of home remedies for 2-3 months
You develop deep, painful cystic acne that leaves scars
Your skin shows signs of infection (unusual warmth, spreading redness, pus)
You experience allergic reactions to multiple ingredients
Acne suddenly worsens or changes pattern dramatically
A dermatologist can complement your natural approach with targeted treatments when necessary, creating a comprehensive acne management plan that leverages both natural and medical solutions.
Treating acne doesn’t always require expensive products or harsh chemicals. The ten DIY face masks outlined in this guide harness the power of natural ingredients like honey, clay, fruits, tea tree oil, and common pantry items to tackle acne at its source. By understanding the root causes of acne and applying these masks with proper techniques, you can develop an effective skincare routine tailored to your specific needs.
Remember that consistency is key when fighting acne naturally. Start by incorporating one or two masks into your weekly regimen, paying attention to how your skin responds. As you become more familiar with the ingredients that work best for your skin type, you’ll be empowered to create a personalized approach that leads to clearer, healthier skin without the harsh side effects of commercial products.